If you want a domain name for your game, you have two options:
Request a free AresMUSH sub-domain (yourmush.aresmush.com), set up for you. See Subdomain Terms of Service for details.
Set up your own domain (yourmush.com).
For the second option, consider Namecheap. They’re affordable, and their tools are pretty straightforward. I don’t get anything for recommending them; I just like them.
To set up your MUSH’s domain on Namecheap:
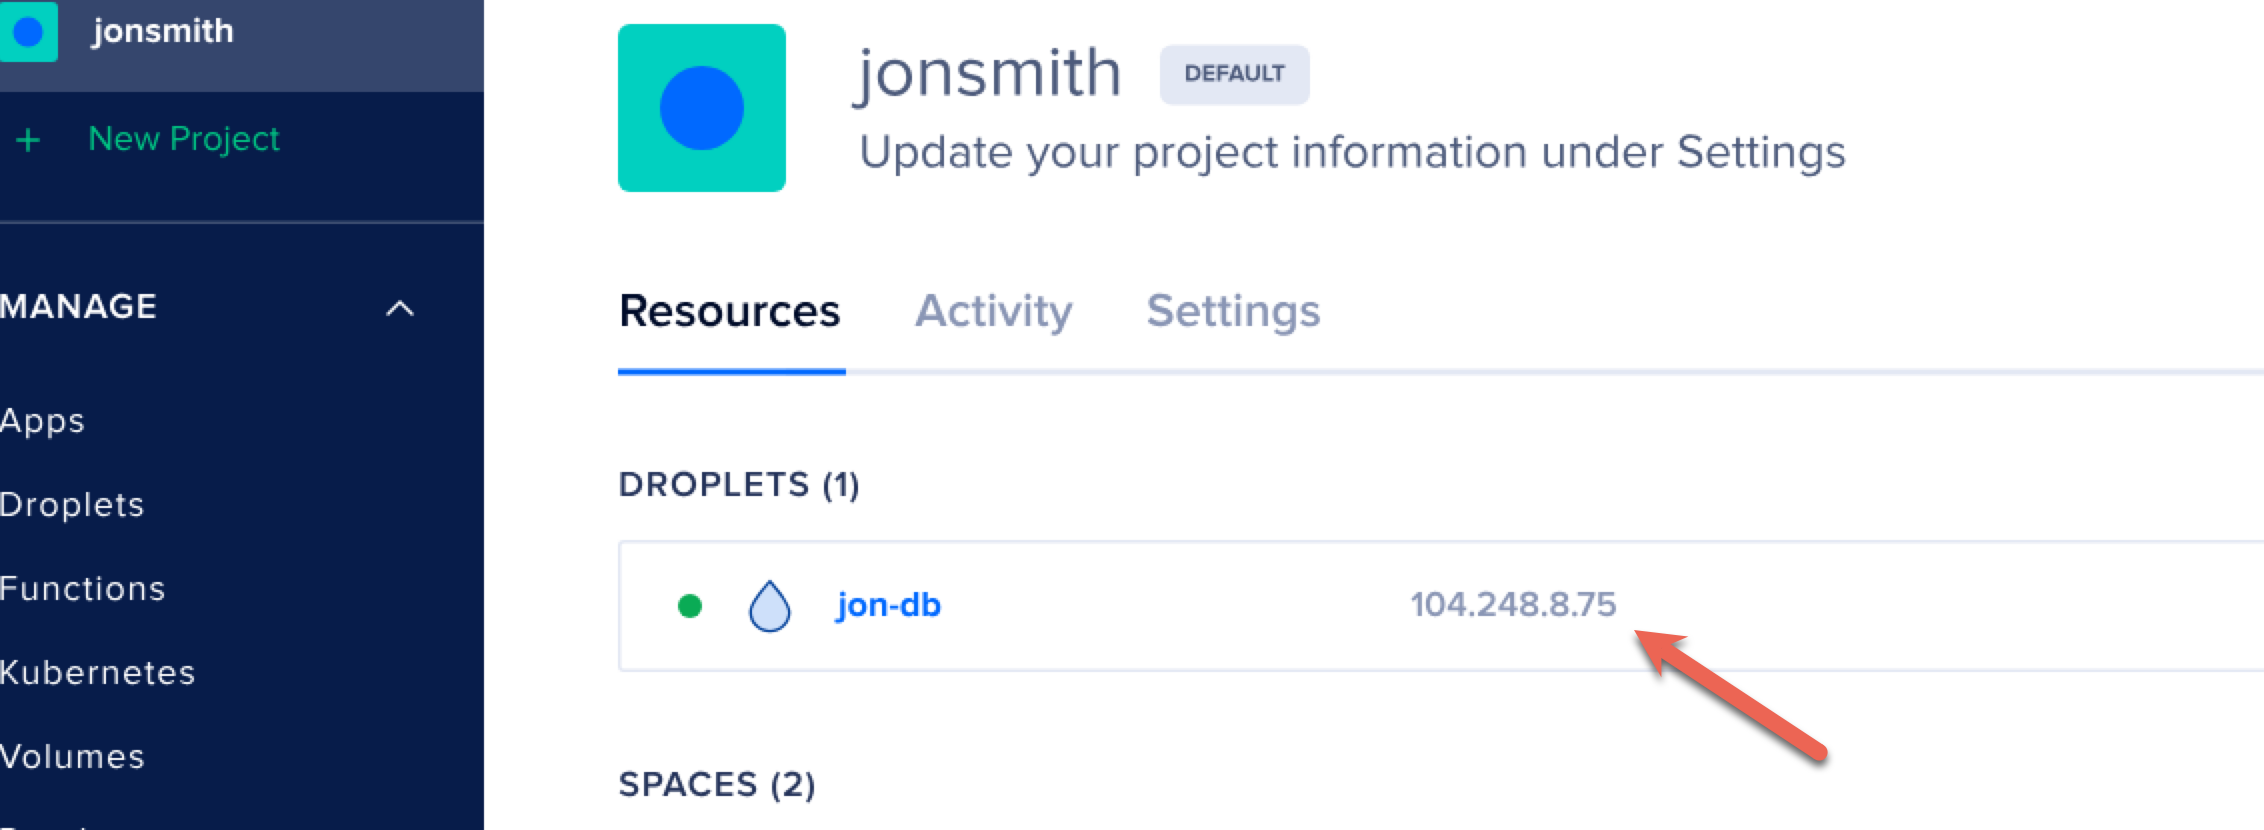
Create a droplet – don’t complete the install, just do the first step when you create the droplet and get an IP address. You can find the IP on your Digital Ocean dashboard.
Create a Namecheap account and purchase the domain.
In your Namecheap account dashboard, click “Manage” next to your domain name.
Click “Advanced DNS”.
Click “Add New Record”. (You might need to scroll down a little bit to see the button.)
A little editor will appear where you can enter the new domain mapping.
Select “A Record”.
Enter “@” for the “Host”.
Enter your droplet’s IP address for “IP Address”.
Leave the TTL setting as “Automatic”.
Click the green checkmark to save.
Wait for the DNS to update. See below.
Once the DNS is recognized by the droplet, complete your game installation.
DNS Updates
Whenever you create or update your DNS information, it takes time for that to propagate through the internet.
Tip
DNS updates can take up to 24 hours to be recognized, but usually it only takes 1 hour.
You can tell that the hostname is working by logging into the server shell and typing: nslookupYOURDOMAINNAME.
Note
Be sure to run this command on the droplet. It doesn’t matter if your PC can see the DNS update; the installation will only work if the droplet sees it.
When the “non-authoritative answer” part of the response lists your droplet’s IP address, that means the DNS is working and you can continue with the game installation. If you get a ‘not found’ answer, the droplet hasn’t seen the DNS update yet.