The AresMUSH 1-Click Droplet lets you quickly set up your own Ares game through DigitalOcean. It gives you a server (aka droplet) with all the prerequisites already installed. All you need to do is provide your game information.
Table of Contents
Here’s how it works in brief (full details follow in the rest of the article):
Full Disclosure: I get a referral bonus from DigitalOcean if you sign up for an account using this referral link, but you also get a starter credit. The referral bonus helps keep the doors at AresCentral open. Using the referral link is not required for the 1-Click Droplet, but is appreciated.
THERE IS NO WARRANTY FOR THIS SERVICE, EXPRESS OR IMPLIED. YOU AGREE THAT THE Author (Wordsmyth Creations) IS NOT RESPONSIBLE FOR ANY DEFECTS IN OPERATION, HARM TO THE GAME OR SERVER, OR ANY OTHER CLAIM, DAMAGES OR LIABILITY RESULTING FROM THE USE OF THIS SERVICE.
You are responsible for maintaining the server after initial setup, including any software upgrades, security patches, and all associated hosting fees.
You are also responsible for complying with the game software’s License Agreement.
If requesting an AresMUSH.com subdomain, you must also agree to the AresMUSH Subdomain Terms of Service.
DigitalOcean does not support or endorse the Ares 1-Click Droplet.
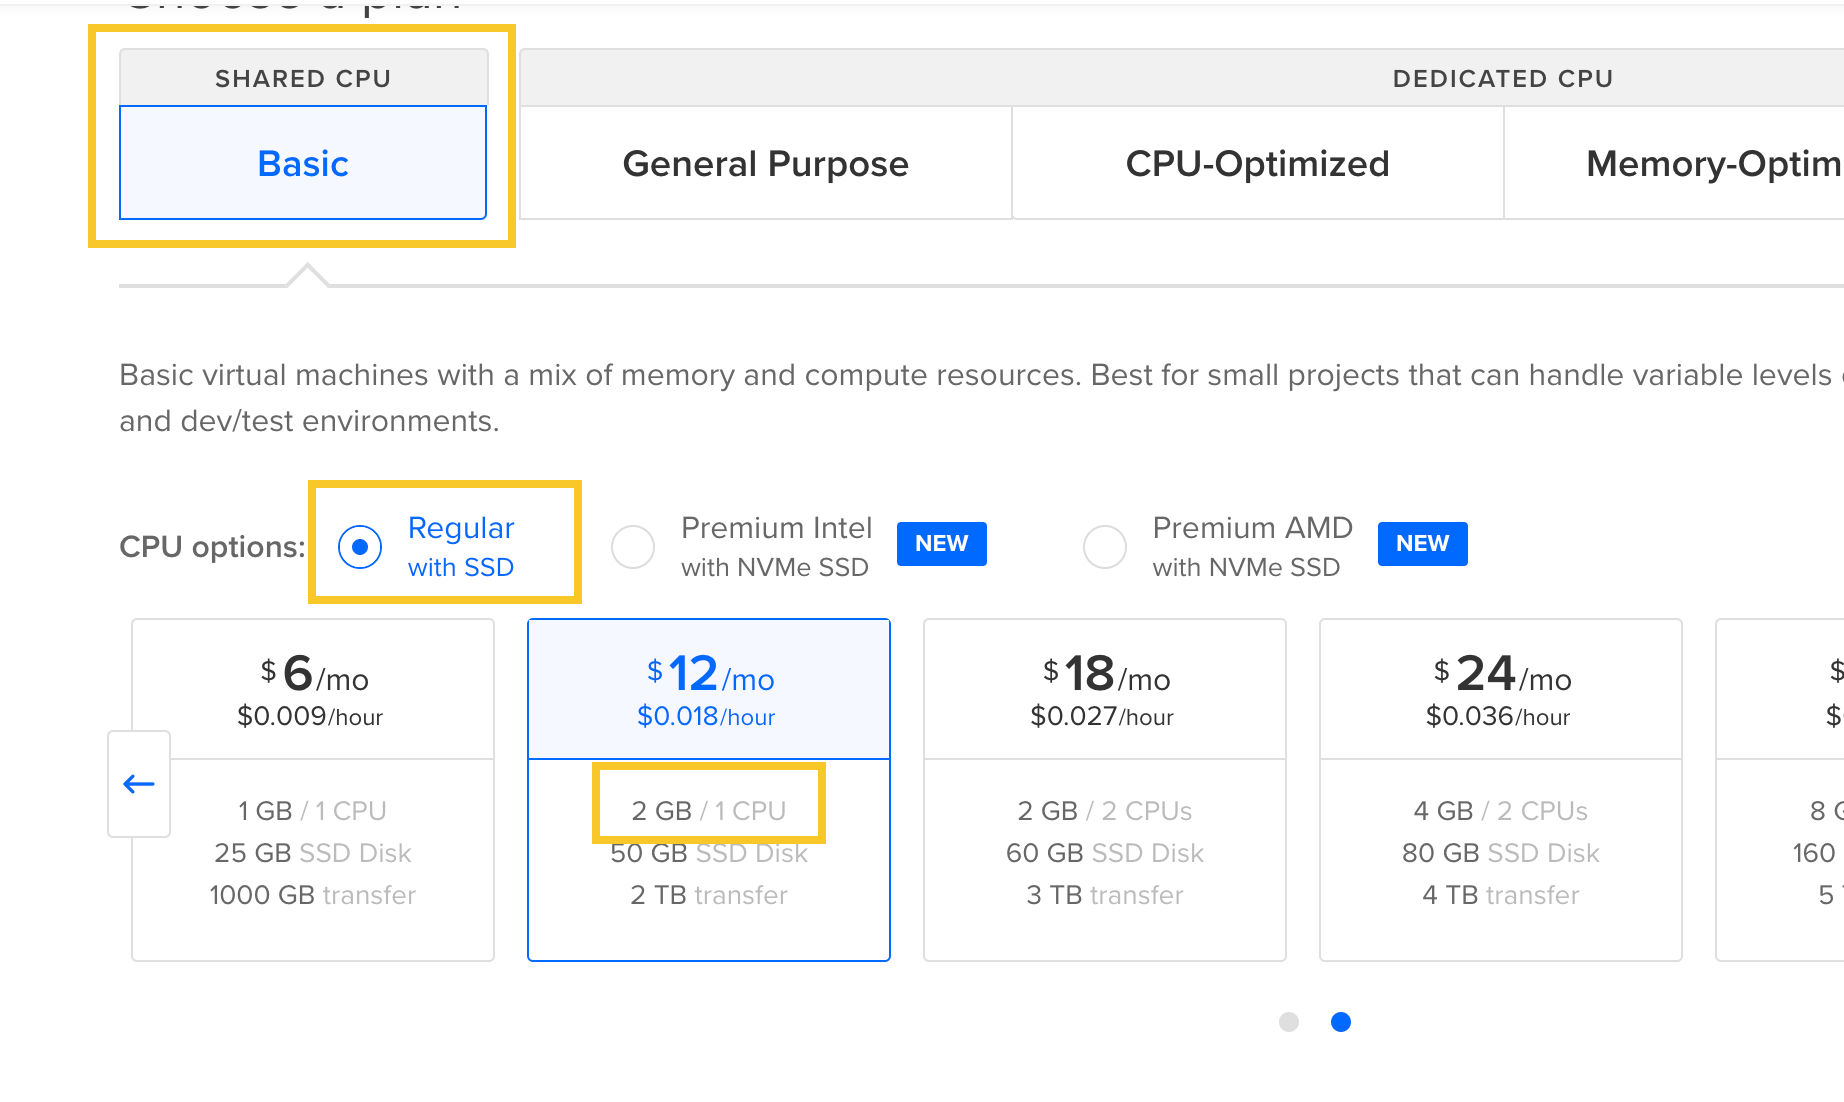
To get started:
You can host a game using the raw IP address, but most games will want a domain name. See Getting a Hostname if if you want to request a yourgame.aresmush.com subdomain or set up a custom domain.
To connect to your game, you will use the IP address/host name and a tool that supports Secure Shell (SSH) connections:
For more detailed help with the server shell, see Connecting to the Server Shell.
Next you will configure your game settings.
Run the following commands:
 cd /etc/aresmush

 ./complete_setup.sh
The installation will take several minutes. There will be a lot of spam, but eventually it will say it’s done.
If you are using a domain name, it is strongly recommended that you configure your web portal with a security certificate, so players can connect securely using HTTPS instead of HTTP.
Run the following commands:
 cd aresmush

 bin/certs
See Configuring HTTPS for details.
After all of the installation is complete, type sudo reboot to reboot the server. This ensures everything comes up working properly.
Your game should be up and running. Check out Next Steps to learn about connecting to it and testing it out.
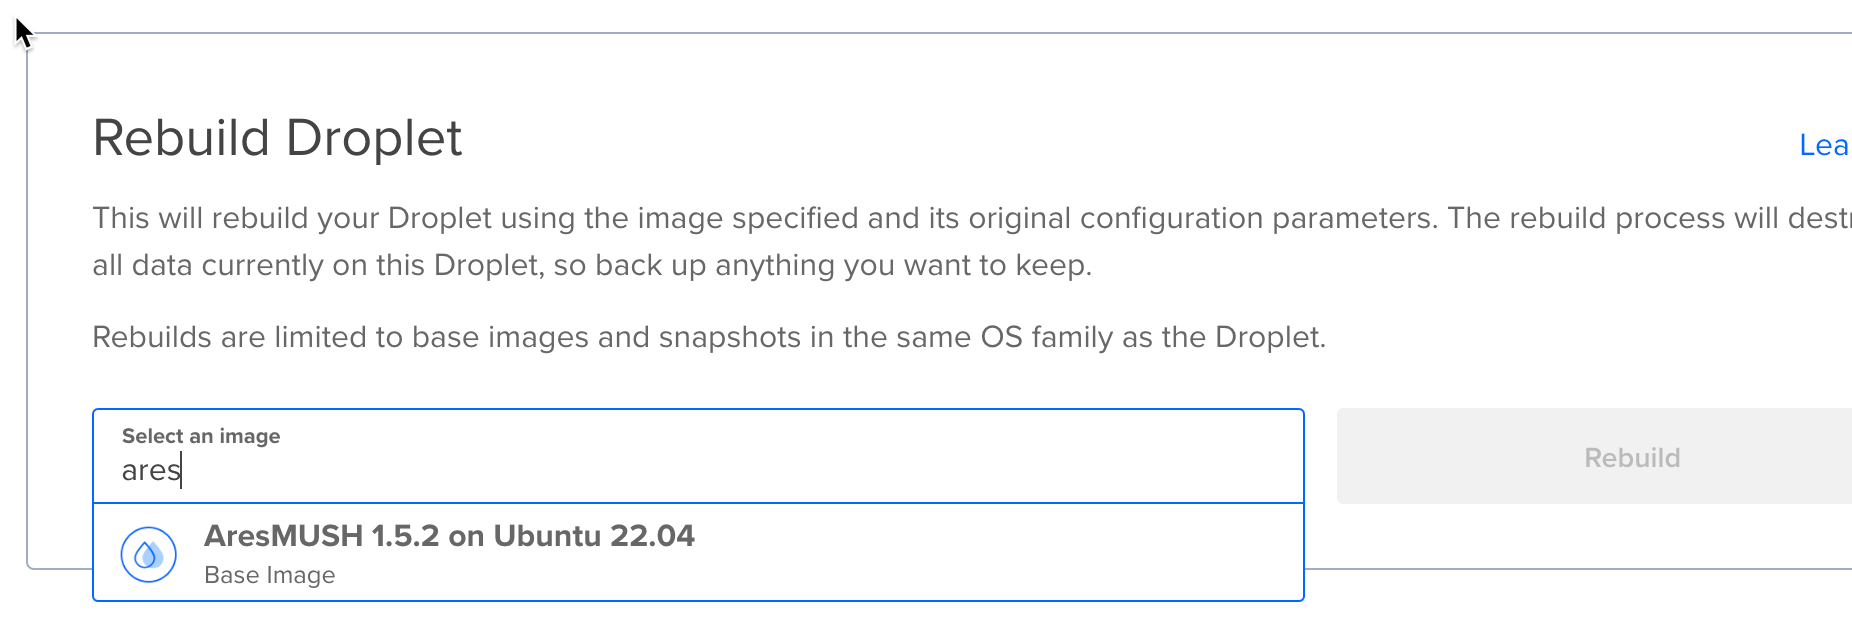
If at any point you need to start over with your oneclick image:
It will take a few minutes, but then your droplet will be restored to the original oneclick image and you can start the install all over again. This will not affect the droplet’s size/region/etc. and shouldn’t impact its IP address or domain either.